Photography takes a lifetime to master, and even then you’ll have new ideas, techniques, and equipment to learn. That’s the bad news. On the other side of the coin, you can use a few simple tactics to enhance every shot you take that might not be mastery, but will make every shutter click an vast improvement that can help you get a nice family photo, an excellent group shot, a gorgeous landscape, or the perfect Tinder profile pic. Best of all, you don’t need a fancy camera. Here’s the 13 best photography tricks for beginners.
Get Down
Placing yourself above the subject you’re trying to photograph might be slimming for selfies, but it’s also far weaker photography. The reason for this is it detaches the viewer from the photo. They feel floating above, uninterested, apart from what is seen. It takes away the immersion and much of the humanity of a photo, even if you’re not photographing humans. Staying eye-level or lower than your subject adds drama and brings the viewer into intimate contact with the picture.
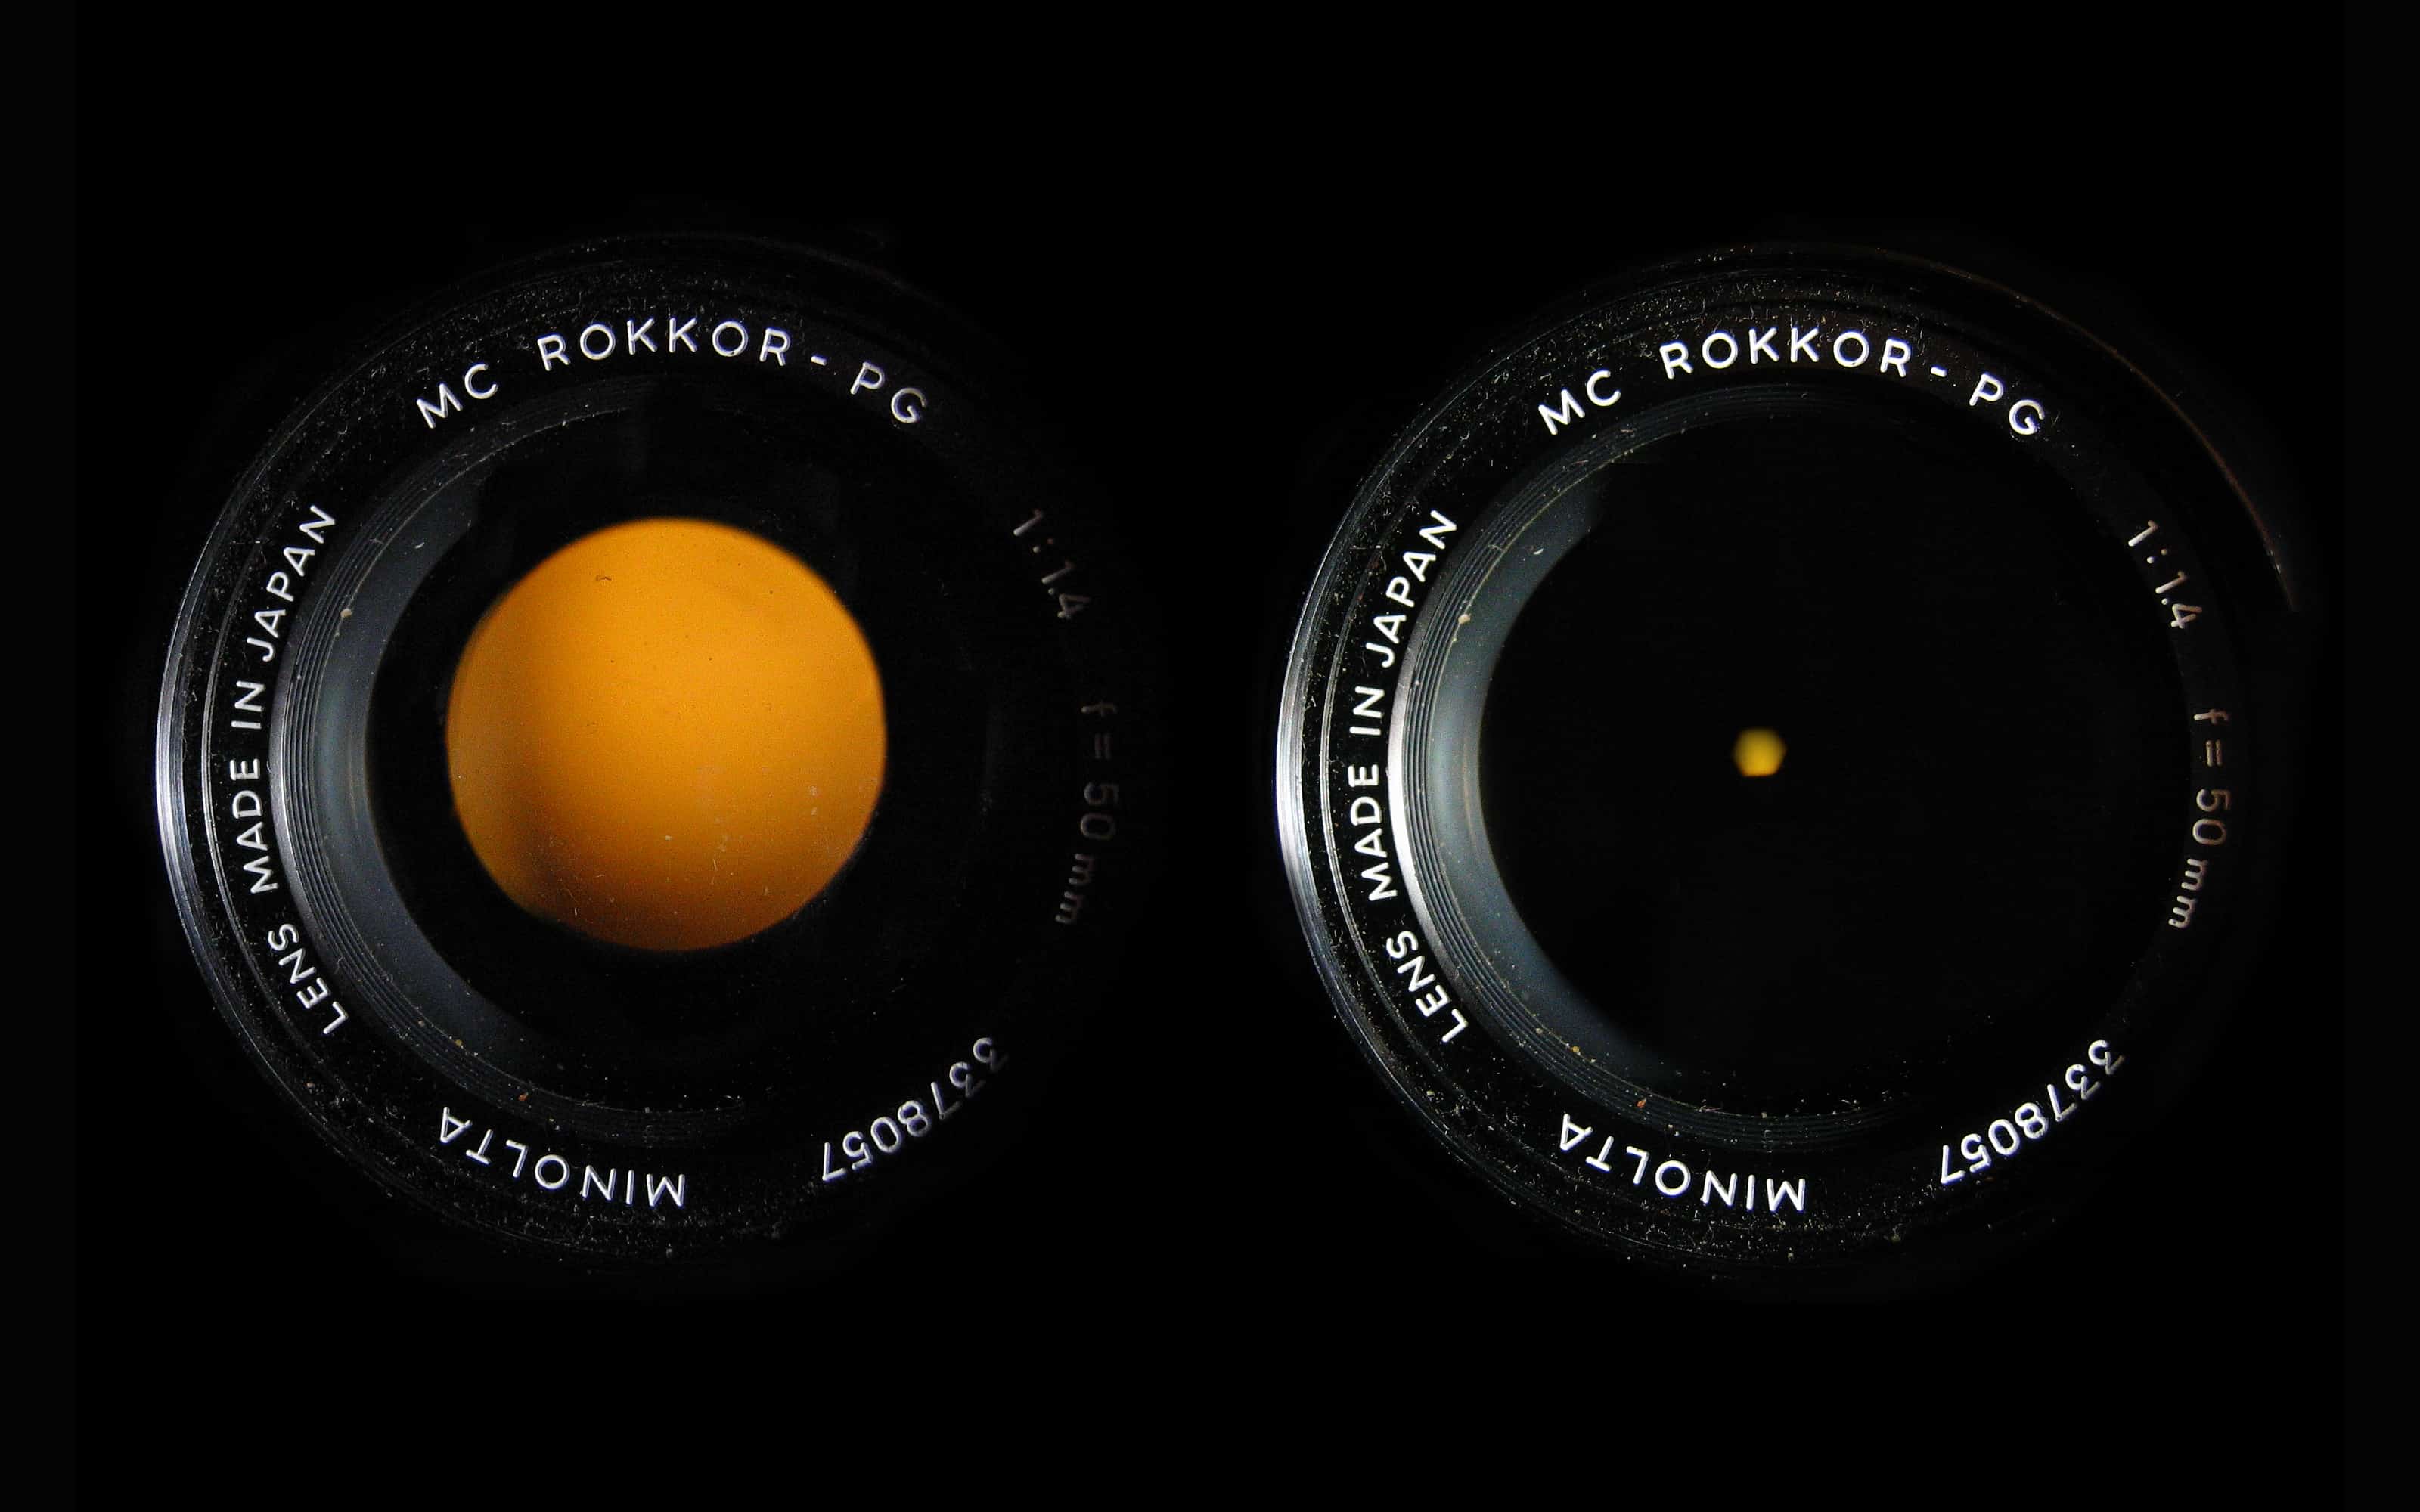
Widen Your Aperture
If you’re focusing on how many megapixels your camera or smartphone has, you’re only getting a portion of the story. The other side of it is the aperture. The aperture on a camera determines how much light is getting in and works along with shutter speed to determine how bright or drab a photograph appears. By using a wide aperture you have greater flexibility with how you shoot your subject and it will change the overall lighting and look of every picture.
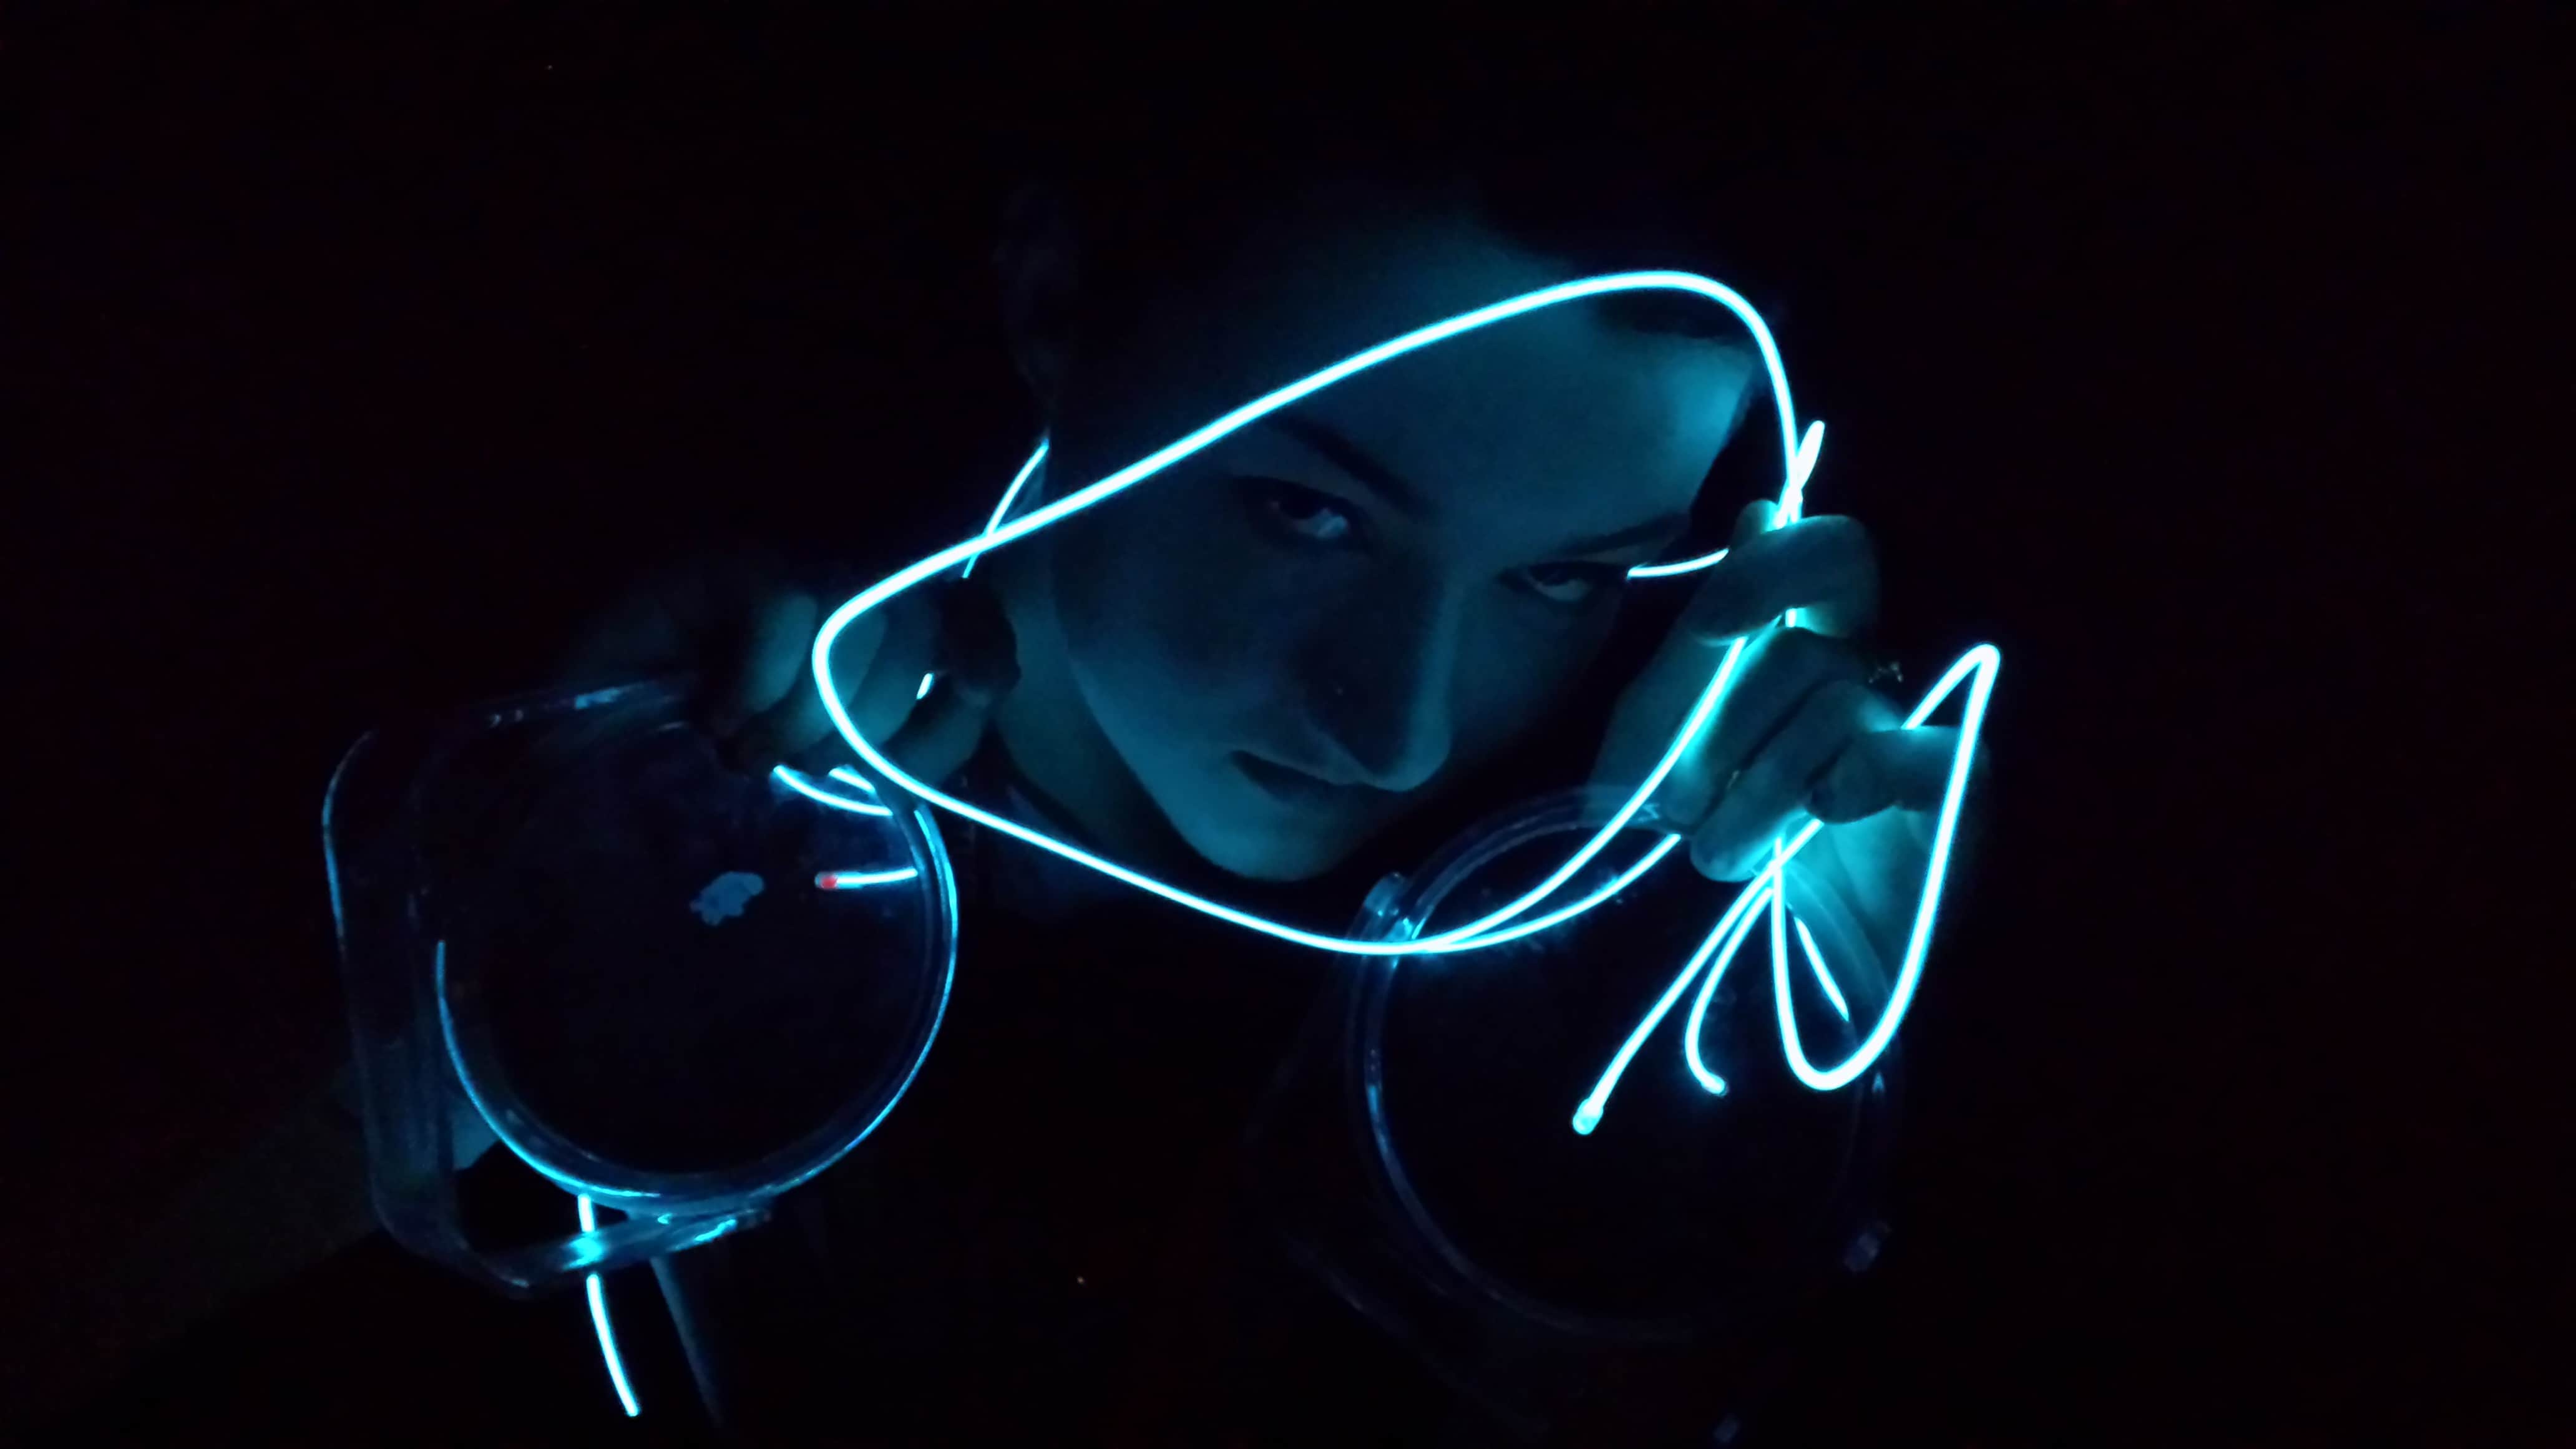
Blur It Up
This goes along with having a wide aperture. Simply put, your subjects will pop more in a photograph if they are sharply in focus while the background and foreground are blurrier. By using a wide aperture, you accomplish this naturally, which is particularly good at adding drama to a shot. If you’re using a smartphone, which generally has little to no aperture control, you may need to go back and do the blurring yourself, though getting much closer to your subject will have a similar effect.
Get In Tight
Moving in close to a subject is never a bad idea. Tight shots reveal far more than wide ones, allowing you as the photographer to find the artistry inherent in everyday things, and allowing your camera to capture things even your naked eye didn’t notice. This is yet another way to add a sense of immediacy and intimacy to every shot.
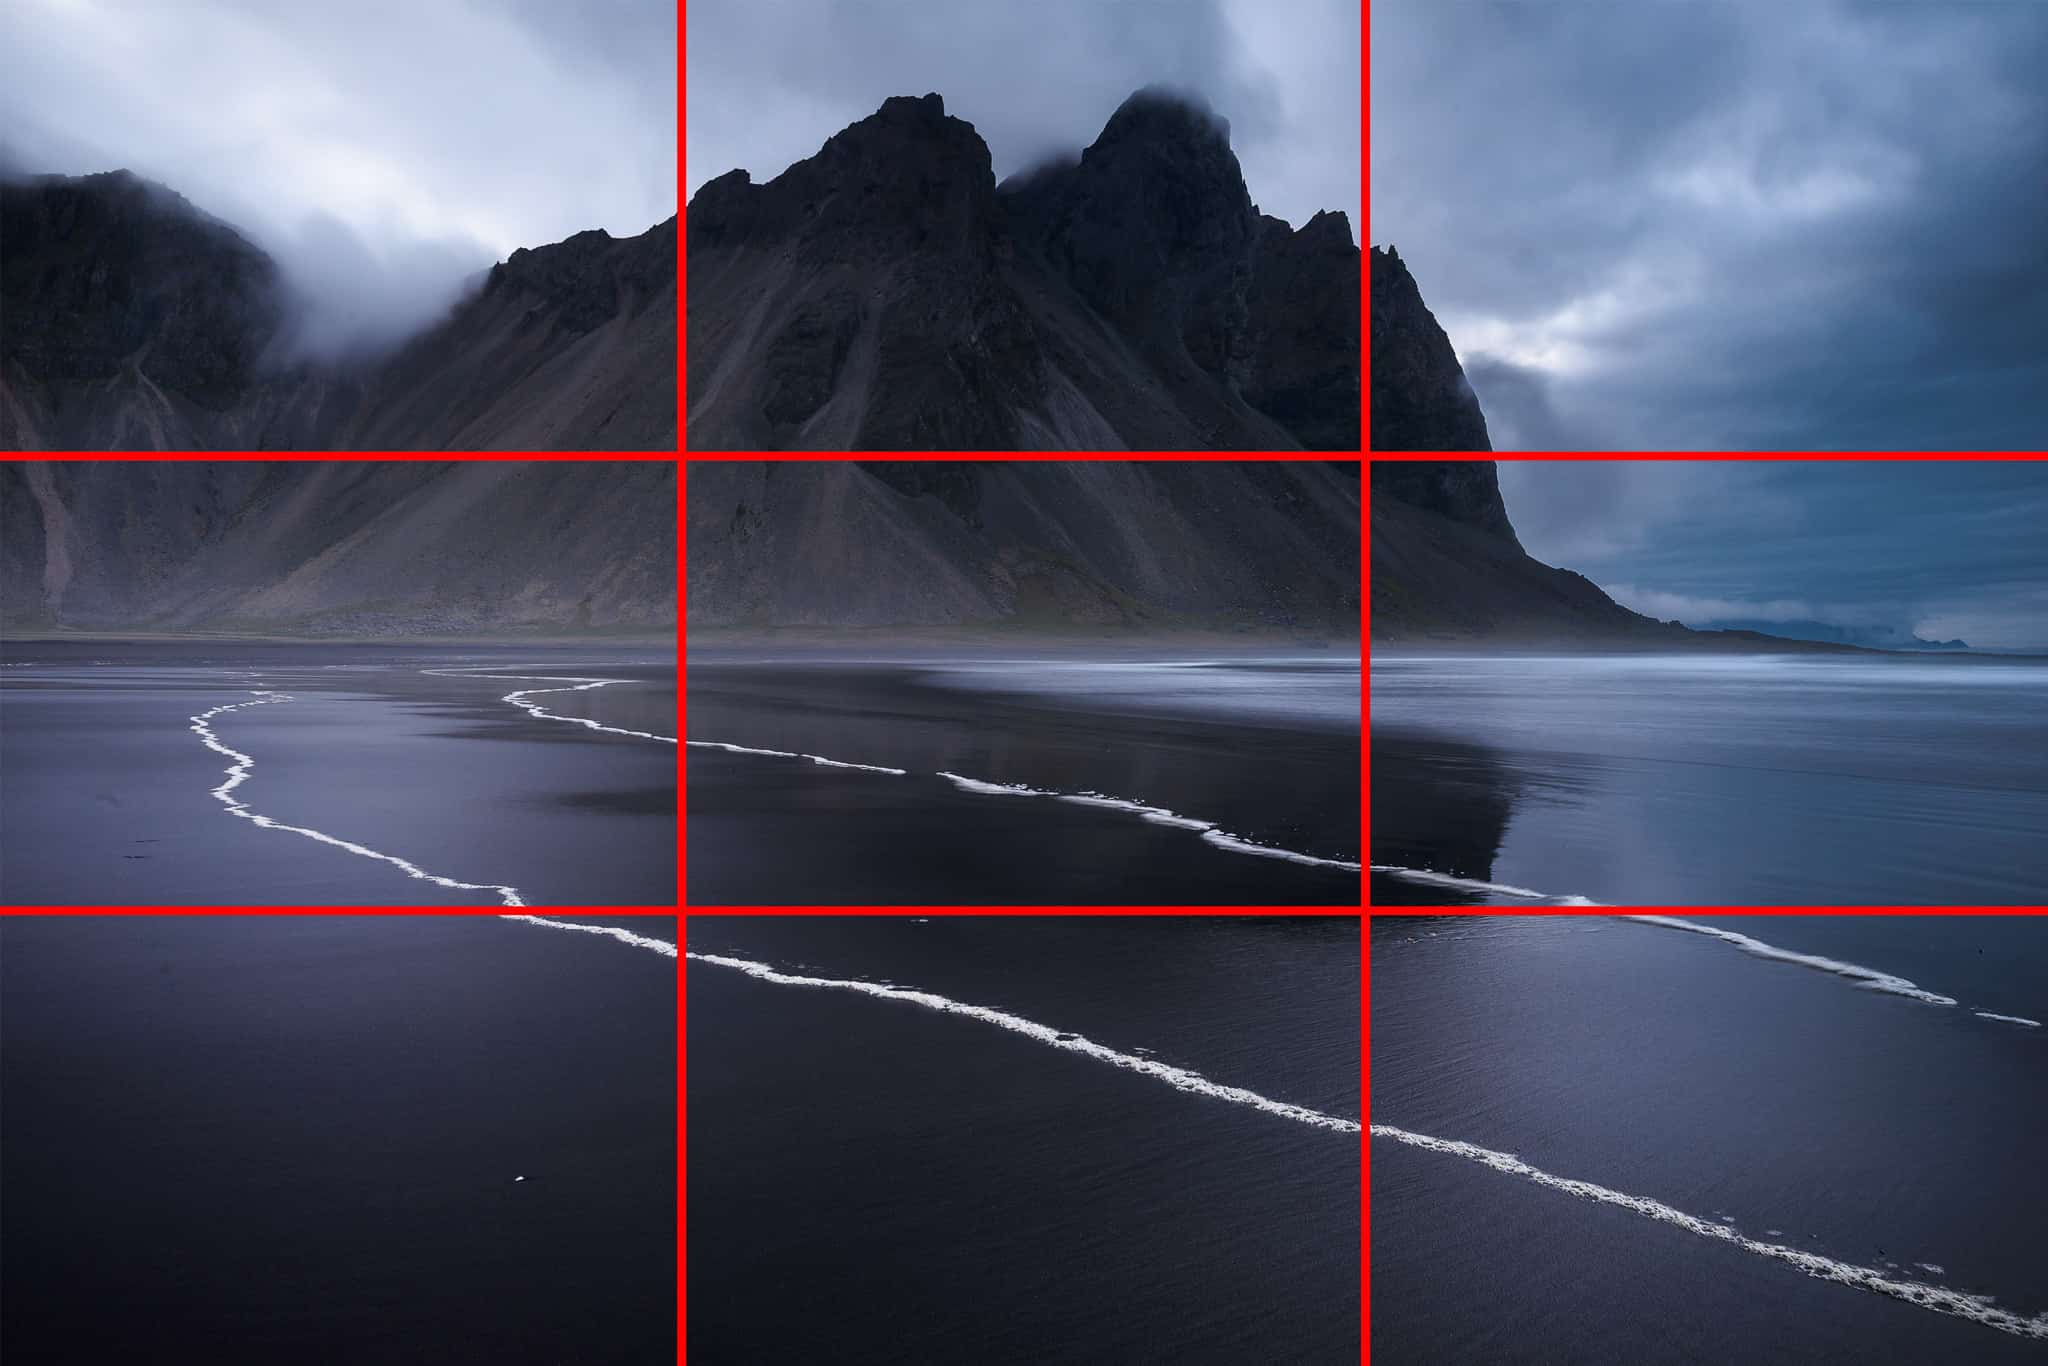
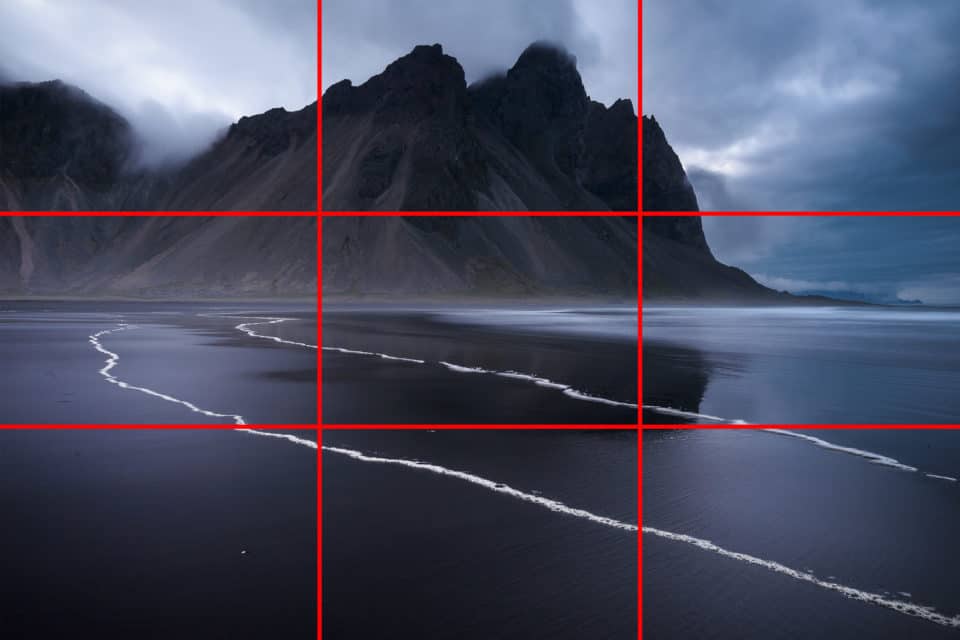
Avoid Center Framing
Generally speaking, framing the subject of a photo dead in the center is not ideal, unless perhaps you’re doing a magazine cover. Even then, there’s typically text to make the image more interesting. Most photographers suggest cutting the picture into thirds, both from left to right and top to bottom with your primary subject set off to one of the sides, at least slightly. As with getting at or below the level of your subject, this adds drama, immersion, and context to pictures. The viewer feels more engaged in a picture if it doesn’t feel quite so much like a photo but a natural moment in time.
Make It Manual
Trusting your camera to do the work of setting up a shot is rarely going to give you the best results. You need go to manual mode and take time to play with all the settings, from lighting to shutter speed to exposure to white balance. Your camera or smartphone might be able to guess what you want, but only you know the effect you’re trying to achieve. By altering everything by hand, you do more work, but get more personalized results.
Every Angle
Think of how quickly a room you knew became a frightening place when you were a child. The only thing that actually changed was the lighting. That’s why it is important to capture subjects from lots of different sides. Light plays differently from where you are and what direction you’re shooting, so if you’re only working with one outlook, you’re likely missing the best framing. Get angles of all kinds, good, bad, and strange to find what you’re seeking.
Shoot a Lot
This is the most basic photography trick, but it doesn’t go without saying: The more shots you have the more good shots you have. True, you’re going to throw away lots, but most models and photographers toss away about 200 photos for every one they keep. Have that in mind.
Don’t Fear Photoshop
There’s nothing wrong with touching up a picture using Photoshop or GIMP (if you want the free option) and YouTube is loaded with tutorials to help you learn the ins and outs. Though there’s a daunting amount of power in image manipulation programs, focus on bite-sized pieces. We suggest going to Phlearn’s YouTube channel, as they’ve got loads of fun stuff that will get you learning without realizing it.
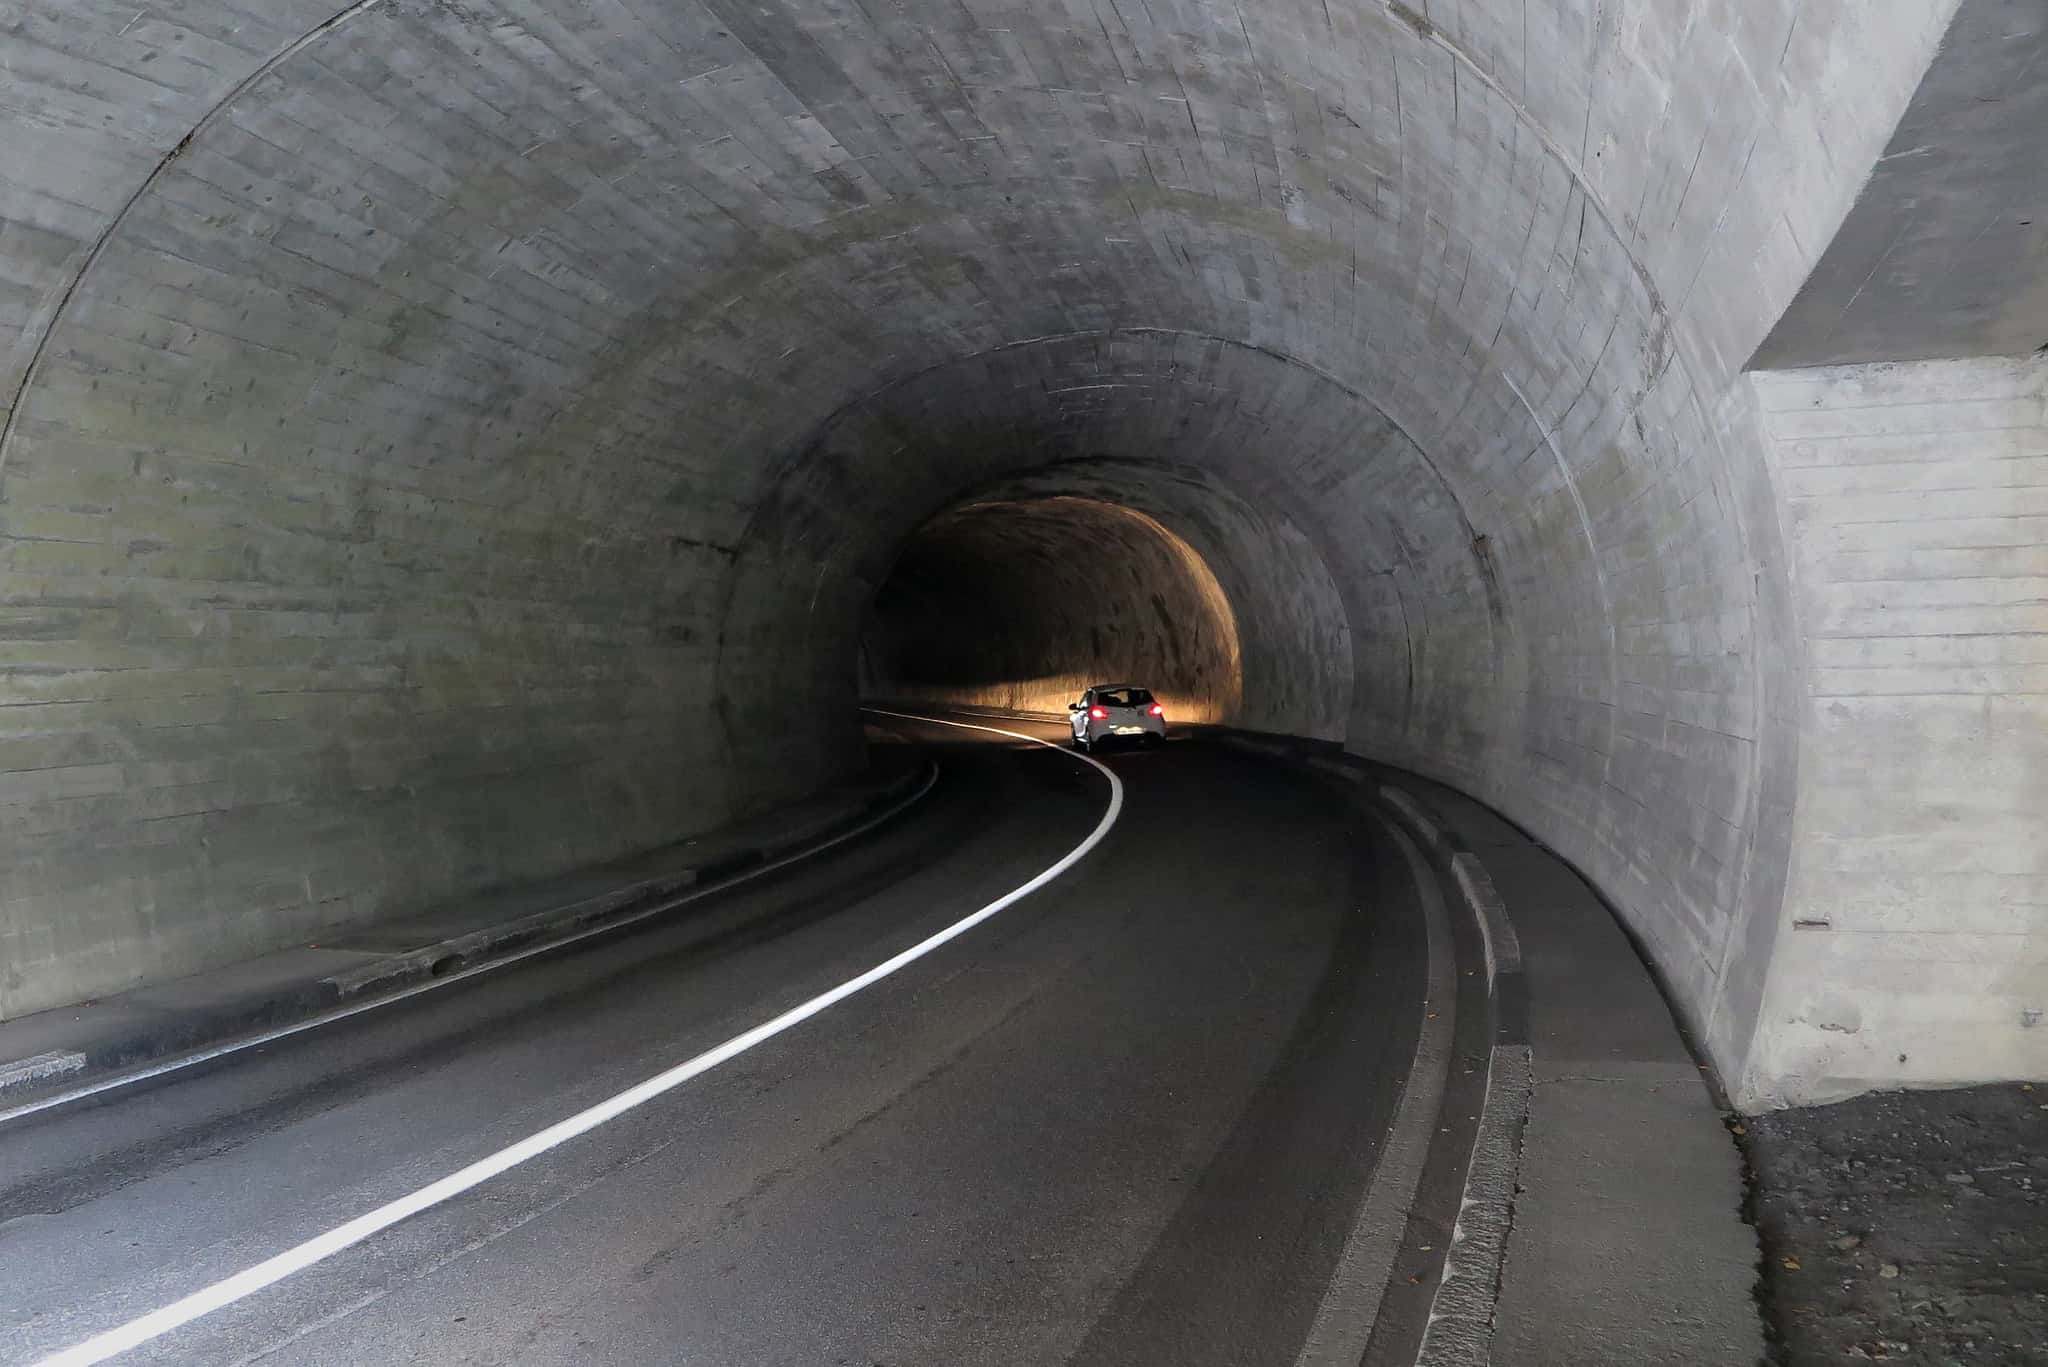
Learn Leading Lines
Our eyes will naturally follow any lines in a picture. This will naturally draw people in to anything you’re photographing. The trick here is to use natural lines, either structures, various terrains and textures, or anything in the environment that seems to aim at something as it disappears into the distance.
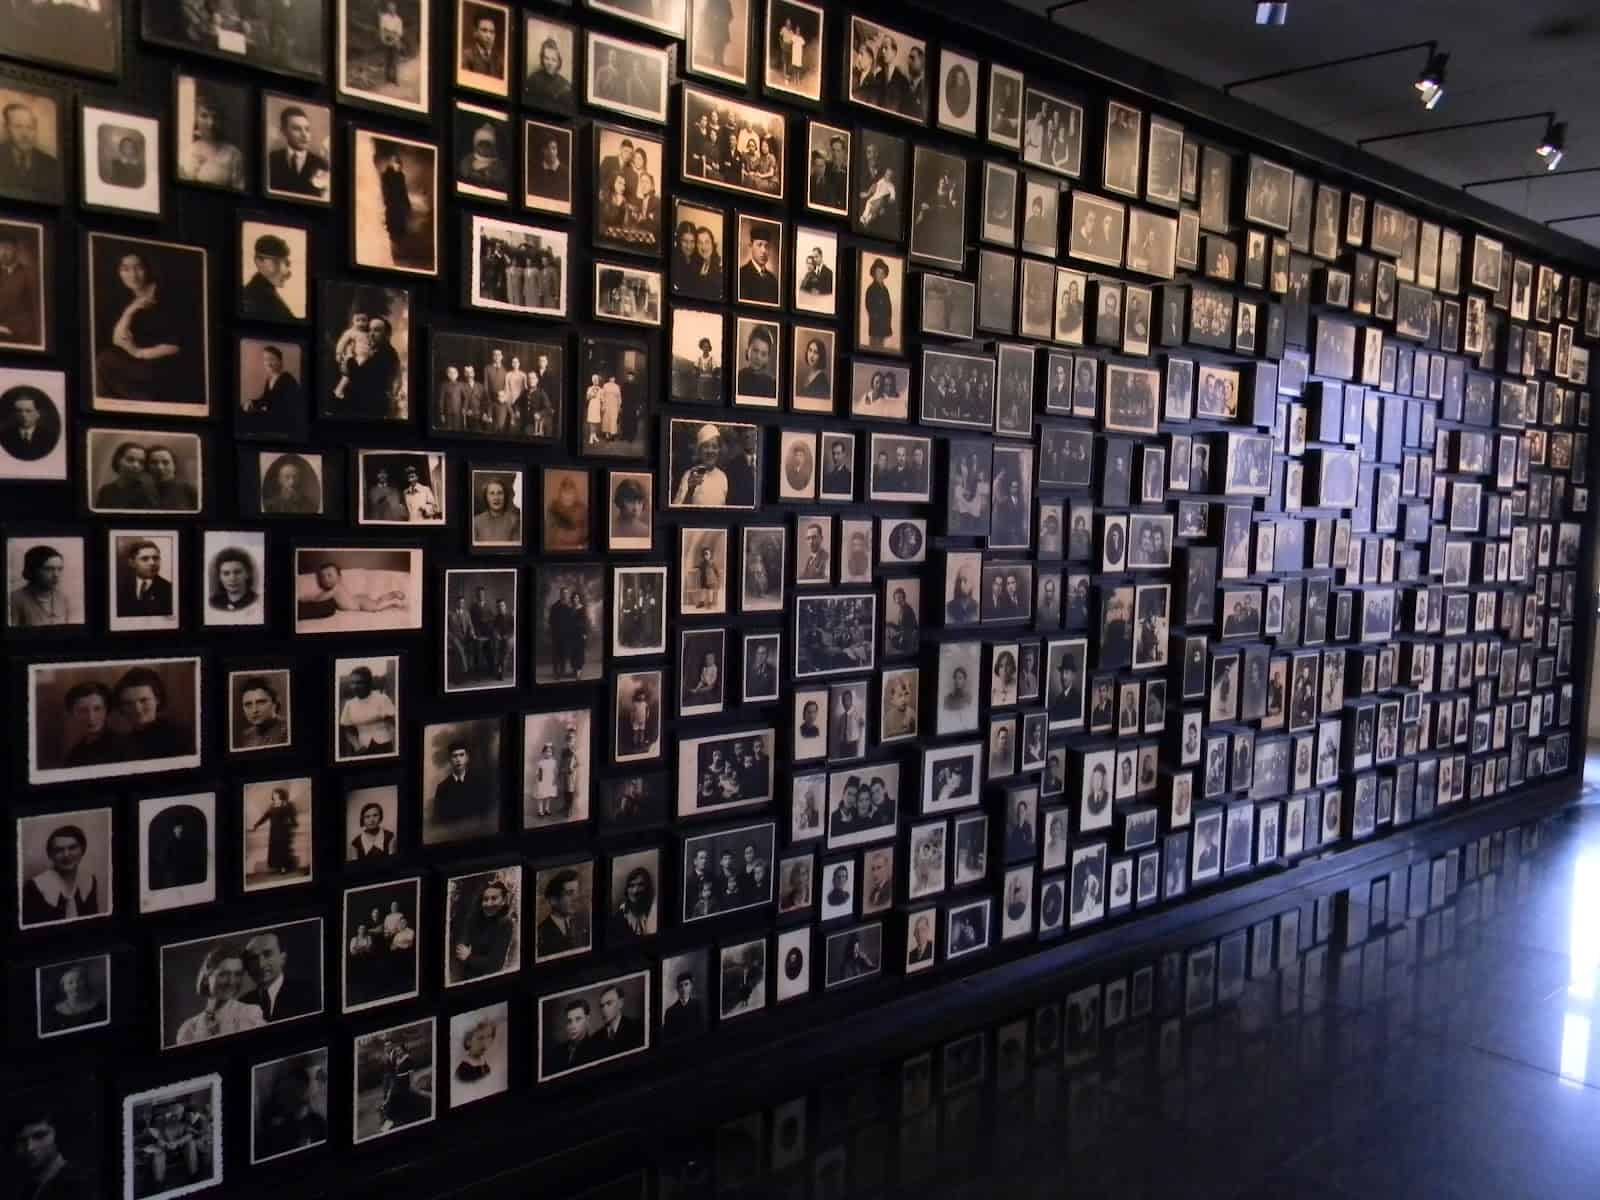
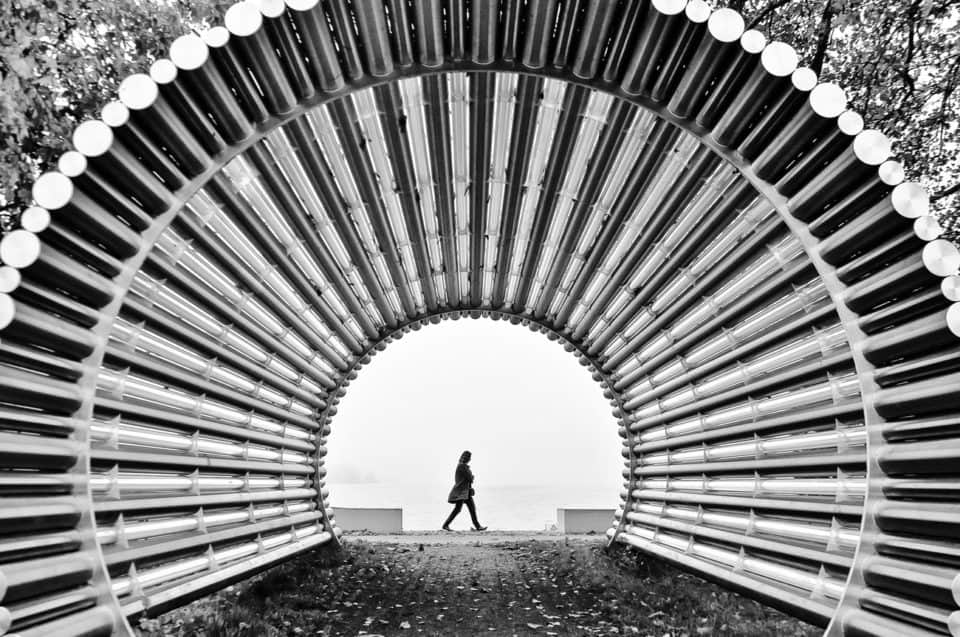
Give a Sense of Symmetry
People are bilateral creatures that are acclimated to looking at our own faces, which are natural mirror images when cut in half. This gives us a love of symmetry. Either by splitting a photo into two parts that are basically repetitions of one another, or having different aspects radiate out from a single point – defined by leading lines – we feel more pleased with a photo than if it feels flat.
Use Natural Framing
Combining the rule of thirds with leading lines will give us natural frames in our photographs. Using the sky and the ground as top and bottom, we can create an innate frame within a frame that highlights our subject between the Earth and the heavens. These lateral lines should be considered even when photographing indoors, as we tend to think of everything as being above, level, or below ourselves. Use that relative relationship to your advantage.
Experiment
There’s no wrong way to take pictures, there’s just ways that capture what you want and ways that don’t. There’s also what you like and what you don’t, but the only way to learn your style is to do it wrong and play with the format.